Last Updated v11.3.0
The Branding area allows TPA admins to setup custom branding themes. Themes can be used for custom colors, logos, text replacement and other visual changes. Once a branding theme is created, it can be applied to an Employer in the Admin\Employers screen.
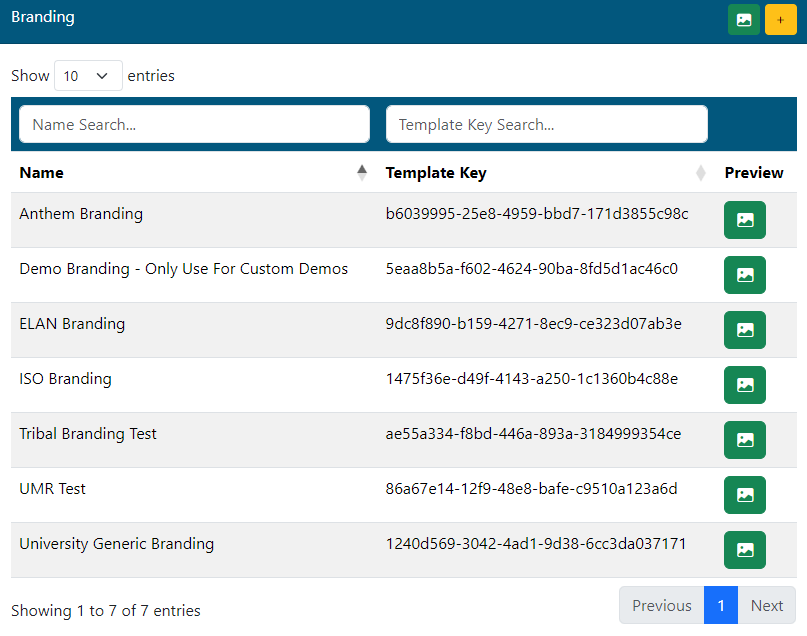
Branding Grid
- Use the
 button in the header to add a new branding theme.
 - Use the search/filter options to find an existing branding theme to edit.
- Click any row row to edit that branding theme.
- Use the
 button next to any existing row to have the system apply that branding to the current display screen. Some items will not be visible in preview mode depending on what they affect in that branding theme.
 - Use the
 button in the header (label on button hover) to return to the standard theme display in your current session.
...
Add/Edit Branding Theme

- Name: Enter/edit the name of the branding theme. This name will be visible here in the branding admin and in the Employers admin.
- CSS: (USER CAUTION WHEN EDITING THE CSS) When a new branding theme is created, this box will be populated with the standard full cascading style sheet (CSS) from the Web eXchange system. The CSS can be edited to make color and style changes to almost any part of the system. Only edit the CSS code if required and ask the Development team for assistance.
- Template Key: This read only field displays the unique key for this branding template. This can be referenced with the Development team if there is an issue with branding.
- TPA Logo Source: Adding a new logo file here will override the default HealthSmart TPA logo display on the LEFT Links bar in the Employer and Member Centers. Logo files need to be a smaller size to fit within the defined space of the Links bar.
- Remove Logo: Use this button to remove the override logo and restore the default logo to this branding theme.
- Header Logo Source: Adding a new logo file here will override the default HealthSmart TPA logo display on the main menu bar (top left). Logo files need to be a smaller size to fit within the defined space of the main menu header bar.
- Remove Logo: Use this button to remove the override logo and restore the default logo to this branding theme.
- Text Replacement: This option can be used to replace almost any text in the system.
- Example: The main menu bar in all centers has an option labeled MEMBERS. If the client that uses this new branding theme wants that to say STUDENTS, use this option to add a replacement.
- Format: Default Text To Replace = My New Text.
- Format for this example: Members = Students.
- Text replacement is case sensitive.
- Text replacement does no replace data/text coming from the underlying claim systems/web service (coverage/claims/accums data). It only replaces text within the Web eXchange system headers and labels.
- Example: The main menu bar in all centers has an option labeled MEMBERS. If the client that uses this new branding theme wants that to say STUDENTS, use this option to add a replacement.
- SAVE: click the
 button on the top righto f the branding toolbar to save changes.
...
How branding is applied to the site for a specific employer
Once a branding theme is ready, navigate to the Admin\Employers screen to apply the theme to a specific employer. See the Employers help page for more information.
How branding is applied to the site
Branding is applied to the site through the presence of a cookie named "we_branding". The value of this cookie needs to match the "Template Key" field on the branding record
There are two ways that this cookie can get set on the client.
...
- https://www.healthsmart.com/WebExchange?we_template=65e1f59a-eb45-4c79-804b-3798b5ef5019
- https://www.healthsmart.com/WebExchange/sso.action?we_template=65e1f59a-eb45-4c79-804b-3798b5ef5019
...