How To Access
To access this page automatically after login, or by selecting the Project Admin option on the main menu. This menu option is only accessible by authorized project administrators.
Last updated v1.1.
This help documentation uses screen captures from a test system and are presented here for example only.
Project Admin Lists/Panels
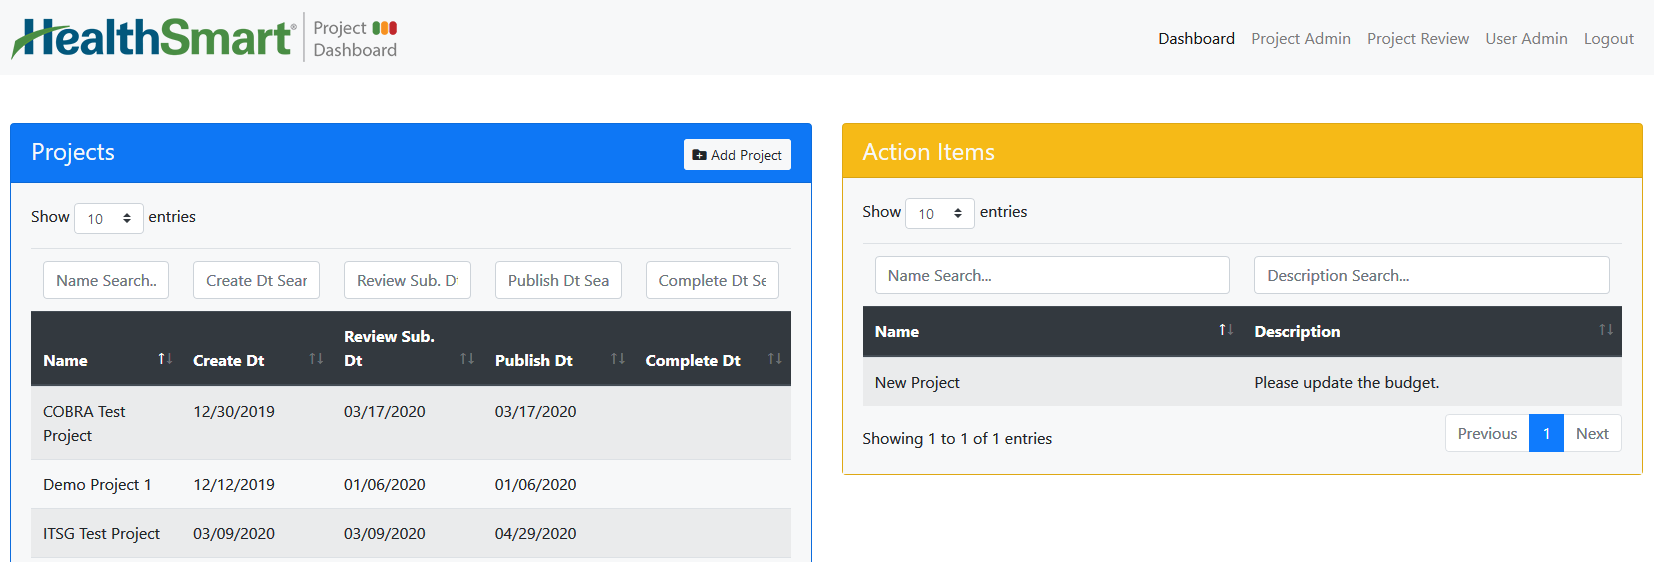
Projects Panel
The Projects panel shows all project dashboards that the current user account has access to. Access is automatically assigned to the user the initially creates the dashboard. The primary admin user of each dashbaord can also assign other users access as either an Admin or Manager of that project.
Definitions
- Project Admins can modify all elements on a project dashboard.
- Project Managers can edit all elements except the following:
- Cannot add a new draft.
- Cannot add/delete a milestone.
- Cannot change the Milestone(s) Baseline End Date.
Usage
- Use the Add Project button at the top of the panel to create a new project dashboard.
- Each column in the grid list can be filtered using the filter boxes above each column.
- Each column can be sorted by clicking the column name. Clicking it again reverses the sort order.
- Click any project dashboard record from the list to open and edit it.
Add A New Project Dashboard
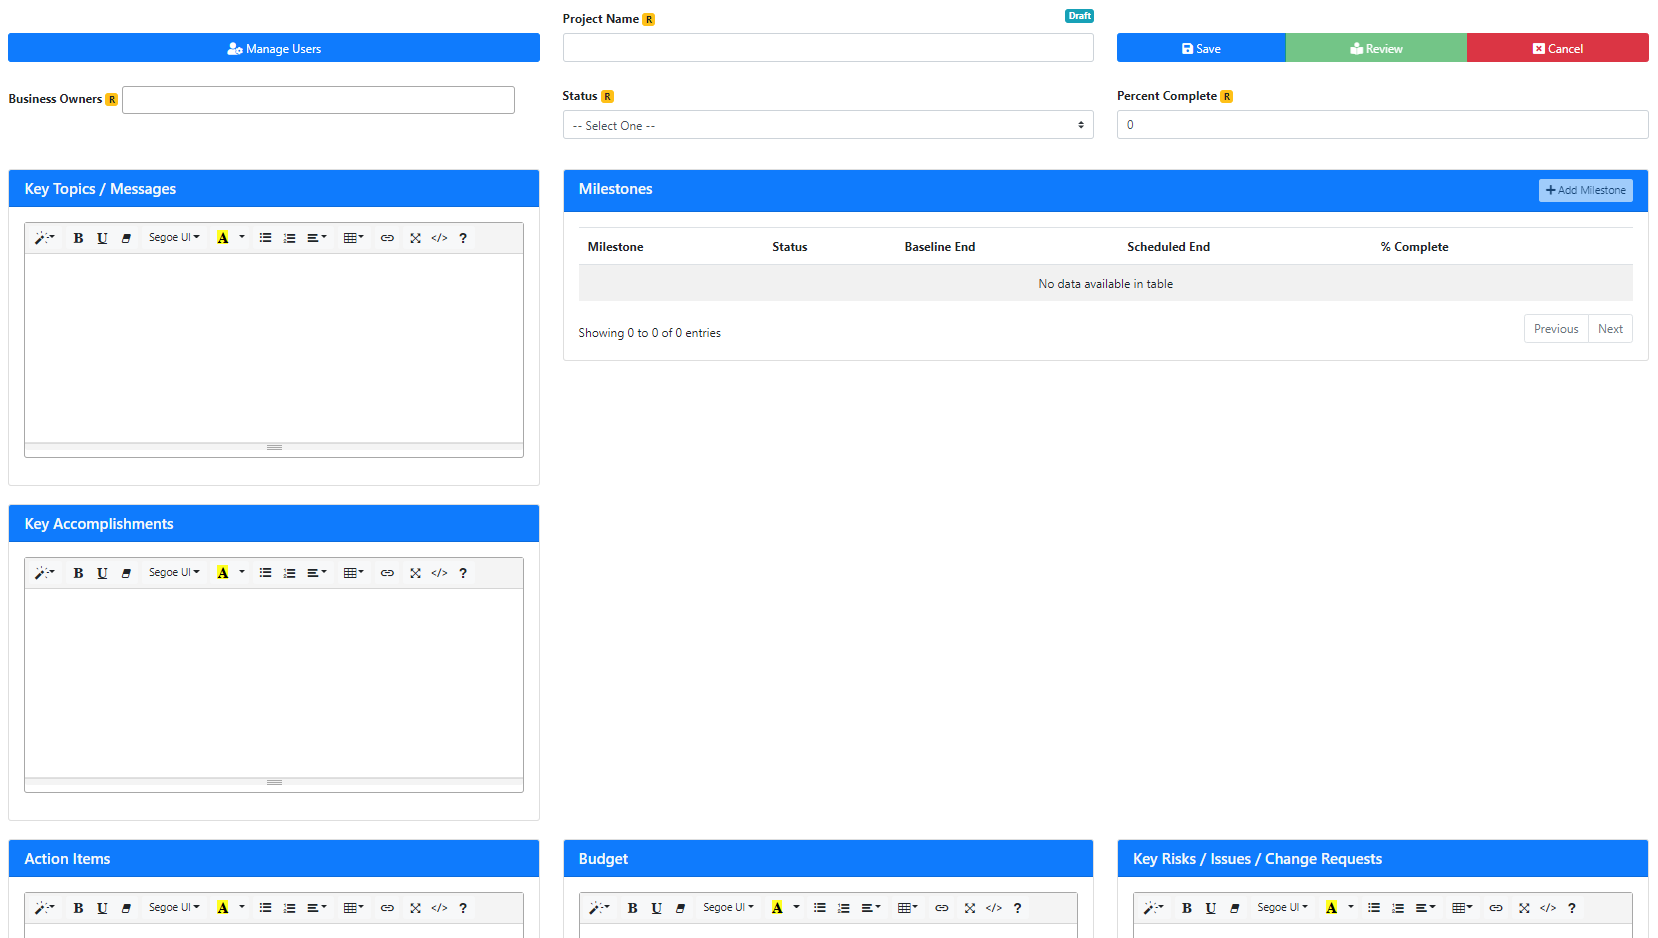
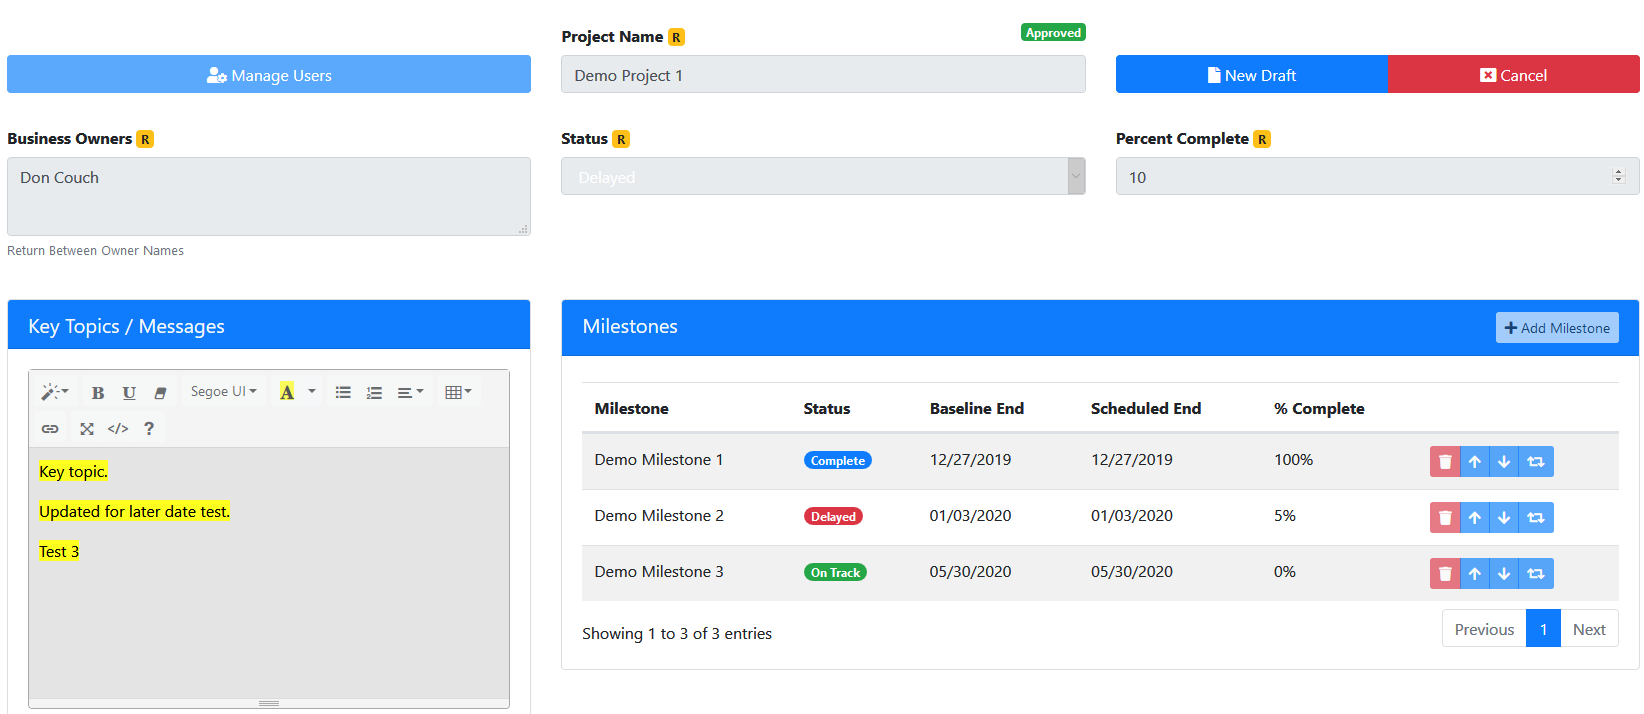
- Workflow status indicator: At the top/center of the page the current workflow status of the project is displayed in read only form. This shows the project admin where this dashboard is at in the creation and review workflow process. When a new dashboard is created, it is automatically in the DRAFT status. Once it is sent for review, it will move to the REVIEW status. If the dashboard is rejected by the reviewer for any reason, this status will show as REJECTED. If the dashboard is approved by the reviewer, it will show as APPROVED.
- **Before saving a new dashboard record, the fields marked as required must be completed. The Manage Users option and the Milestones cannot be added until the record has been initially saved.
- Manage Users: Click this button to manage the users that can edit/update this dashboard.
- On initial save of a new dashboard, the creating user is automatically added as an Admin on the dashboard.
- To add more users as Admin or Manager roles to the dashboard, select their name from the user list drop down, and selected the role that user should have for this dashboard.
- Only users that have been granted a primary account type of Project Admin will appear on this list. Primary accounts are added by the Dashboard system administration team. Business unit users that have read only access to the main dashboard screen do not need to be added manually to the system. Any HealthSmart Active Directory authenticated user can access the main dashboard screen.
- Project Name: Add a name/title for the project. This will appear in all areas of the system.
- Action Buttons:
- Save: Save any changes made to the dashboard. Saving does not submit the dashboard for review. Always save changes before leaving the dashboard or logging out.
- Review: Once ready, send this dashboard to the review process. The review process is typically performed by the CIO, and all projects are reviewed before being released to the main dashboard screen.
- Cancel: Exit the dashboard without saving any changes.
- Business Owner: Enter the name(s) of the business owner(s) of this project. Multiple names can be entered by typing each name and pressing Enter/Return. The next name can be added after each Enter/Return.
- Names can be removed by clicking the 'x' next to the name or by backspacing over the name in the list.
- Status: Select the current overall status of this dashboard. This status is displayed in all areas of the system.
- Percent Complete: Enter the total current completion percentage of this dashboard.
- HTML Text Boxes (Key Topics, Key Accomplishments, Action Items, Budget, Key Risks): These sections are all HTML text compatible. Enter text information as directed by the CIO or project admin.
- Milestones: This section allows the creation/editing of unlimited milestones related to the project dashboard. See the separate Milestones section below for details.
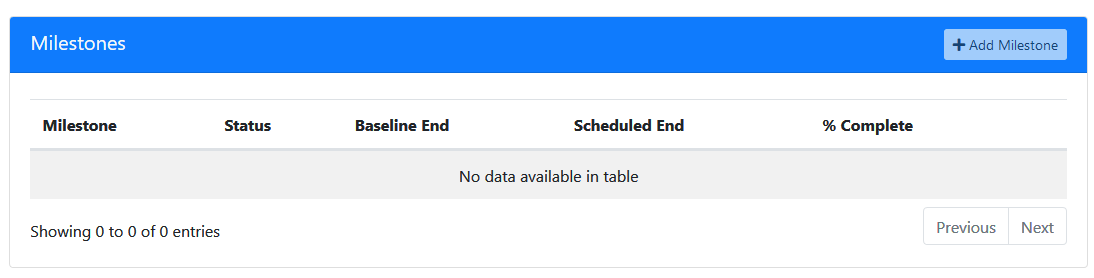
Milestones
To add a new Milestone, click the +Add Milestone button.
The New Milestone window will open. Enter all required fields.
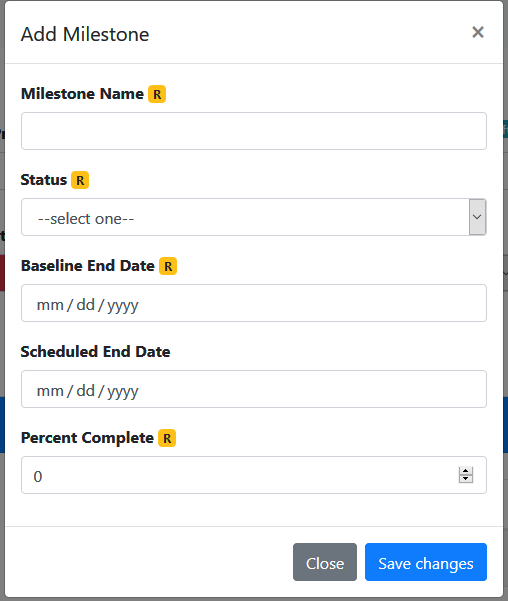
- Milestone Name: Enter the name/description of the milestone.
- Status: Enter/Select the current status of the milestone.
- Baseline End Date: Enter/Pick the date the milestone is supposed to be completed.
- Scheduled End Date: Enter/Pick the date the milestone is currently scheduled to be completed.
- Percent Complete: Enter the current completion percentage of the milestone.
- Close: Exit the window without saving changes.
- Save Changes: Save and exit the window.
Once Milestones are added, they can be manipulated in the list.
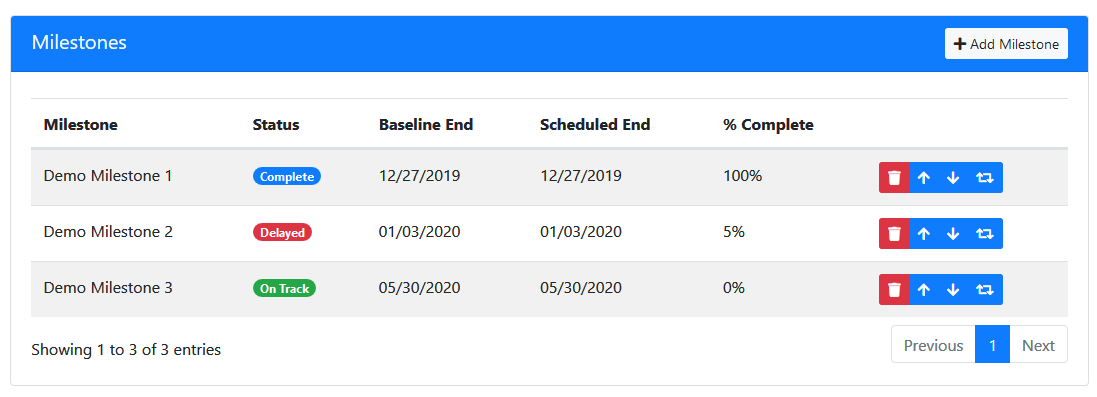
 : Delete the milestone. A confirmation dialogue will be displayed.
 : Move the milestone up one row.
 : Move the milestone down one row.
 : Move the milestone to a specific location in the list. A dialogue will be displayed to enter the position number. Save the change to complete the move action.
- Click any milestone row to edit the milestone.
Edit An Existing Project Dashboard
Click any dashboard record from the grid list to open in edit mode.
When a dashboard is in Review status and is waiting for the reviewer to approve or reject the dashboard, the dashboard itself cannot be edited.
To add a new draft (weekly update) to a dashboard that was previously approved, click the New Draft button (screen sample below). A confirmation dialogue will appear to complete the action. Once the new draft has been started, all fields are available for update/edit as described in the "Add A new Project Dashboard" section of this help document.
Action Items Panel
If a dashboard was rejected by the reviewer, it will appear in the Action Items list along with a description of the rejection reason provided by the reviewer.
- Click the dashboard record from the list to open it for editing.
- The same add/edit view will be displayed like the other sections of this help document.
- The workflow status will show as Rejected. Click the rejected status tag to see the rejected reason.
- Make the required changes, Save the dashboard, and submit for Review again.
Related Pages
There is no content with the specified labels