Employer Settings
This screen will allow TPA users to edit specific settings for the Employer groups that have access to Web eXchange. The list of groups is pulled from the adjudication system, and cannot be edited in Web eXchange. The purpose of this screen is to deactivate employer groups manually should they terminate coverage (and any run out is over), and to modify settings for temporary ID cards and logos per employer.
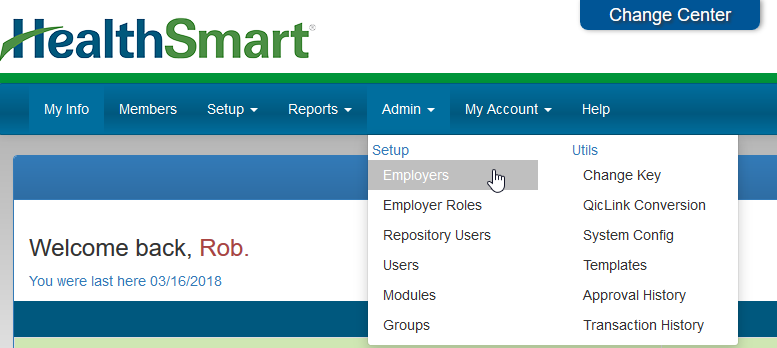
- Access the Employers edit screen from the main menu option ADMIN, then click EMPLOYERS.

- Use the filters to narrow down your search.
- Select the employer from the list.

- Select if the Employer is Active or not. If Active is set to NO, all access to this Employer and Member information will NOT be available from any Center in Web eXchange.
- Select if the private employer to member two way messaging module is enabled.
- Select if the Employer's members can view and print a temporary ID card from Web eXchange.
- Select if this employer group uses the Standard or special Dependent card type.
- Select if this employer group uses Multiple ID Cards for different products (up to 2) type. The system will pull back the two most recent cards. ***Can't be used with the Dependent Card option.
- Upload a logo to display on the main menu when the Employer or Member users login to Web eXchange.
- Choose a custom branding theme if applicable for this employer. Branding themes are setup on the Branding admin menu option.
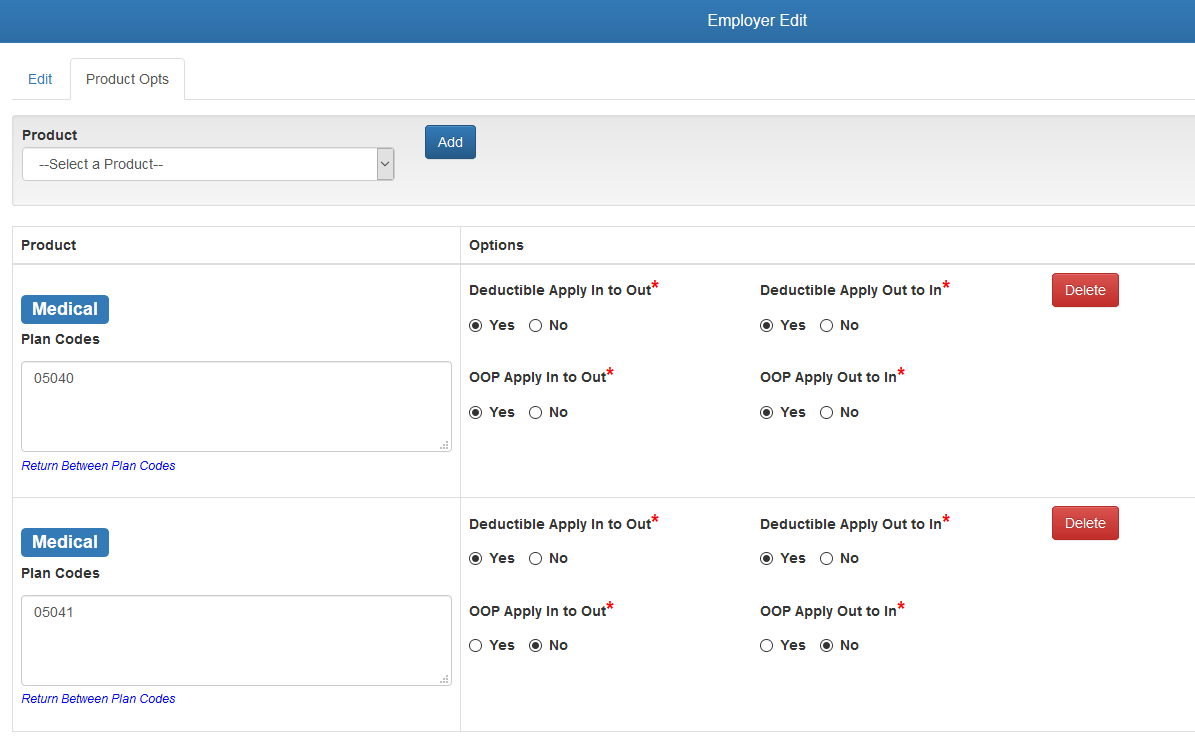
Product Options Tab
- Select a product from the drop down list and click ADD.
- Apply the desired options for that product.
- Accumulator information can apply from out of network to in, in network to out, and can be separated by deductible vs OOP. This feature will add one bucket to the other based on selection and the amounts coming from the claim system.
- Plan Codes can be assigned to a product record to limit the options to the plan code(s) in the box. If empty, the system will apply the options to all plan codes for that product.
- Click the SAVE icon to save the changes.