Last updated v11.3.0
The Download Repository is used to upload reports/documents for employer/client users to download securely. Temporary downloads for a non-employer user is also an option.
Download Repository Grid List
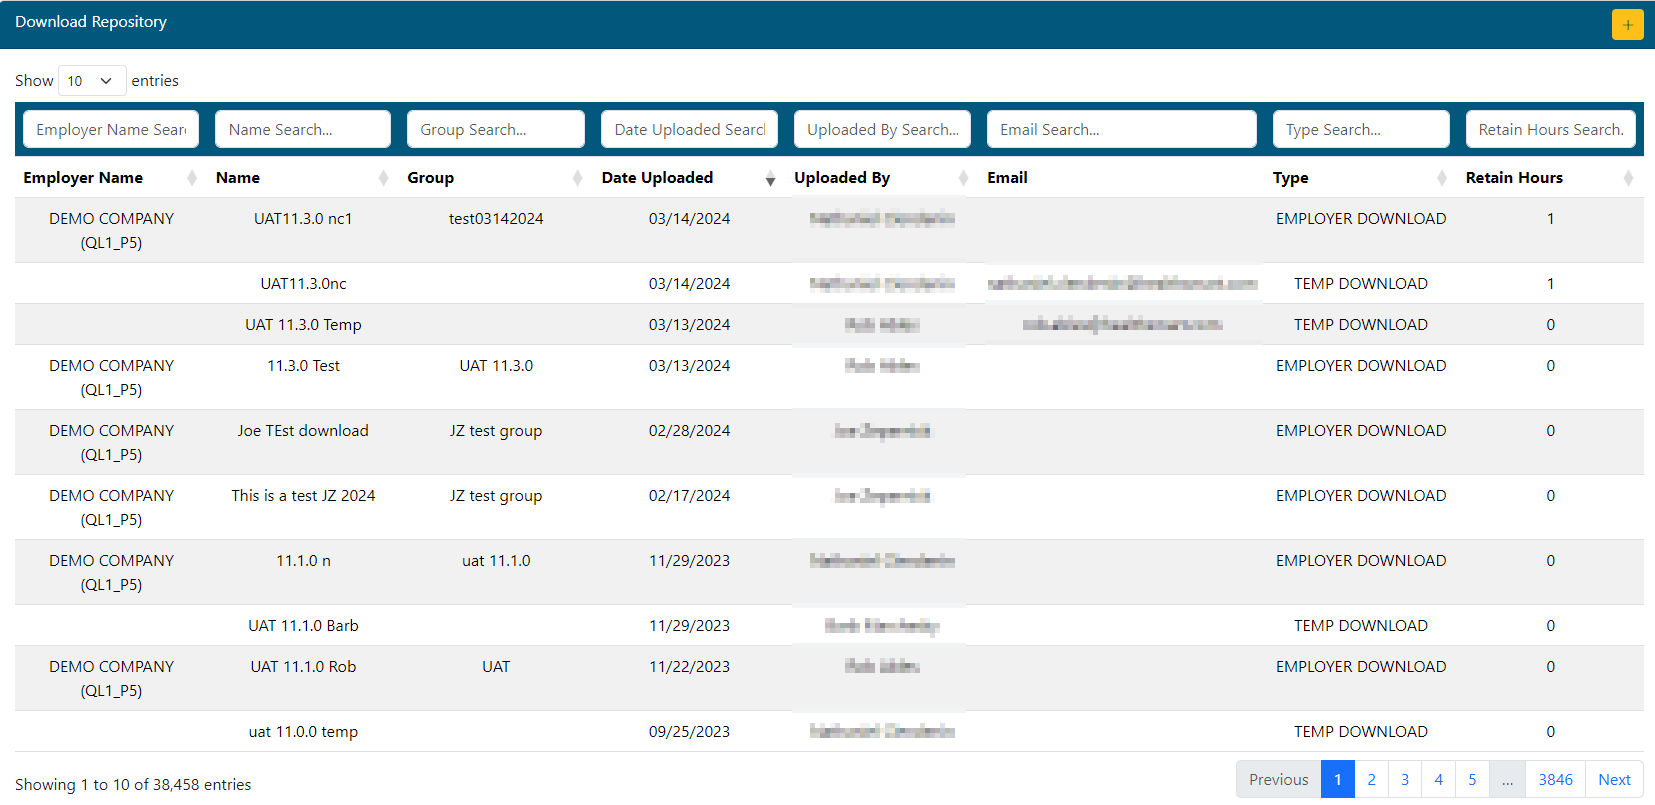
- Create record using the
 button.
 - Filter records using the boxes at the top of the grid.
- Click a record to see details.
- Browse pages of records using the paging options at the bottom of the grid..
**As of Web eXchange 5.6.2, the grid list will only display records that the current user account created. If there is a need to view/edit records that other TPA Center users created, please contact the Web eXchange portal admin team. With proper authorization, a special security group can be assigned to allow the additional access. Web eXchange administrator accounts can see all download records by default.
Adding/editing an Employer Record
Employer downloads allow documents to be posted directly to the Downloads area of the Employer Center in Web eXchange for the employer group specified. Any employer admin user that has Web eXchange access with the proper permissions assigned will be able to access the download and will receive an email when a new download record is added for their employer group.
Before Save
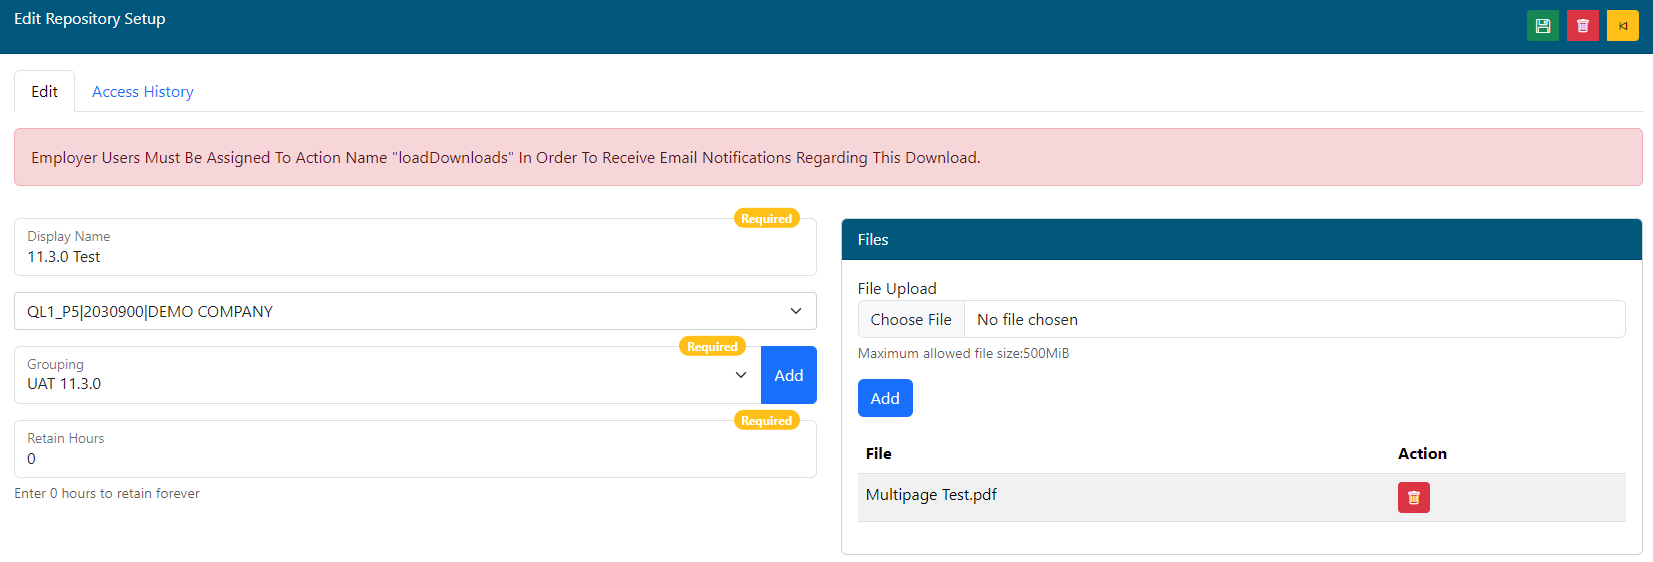
Edit Tab
- Display Name: The name that will be displayed to the Employer in their Download center. This will also be displayed on the DLR grid list to identify this record.
- Employer: Select the employer.client/group this download record will be associated with.
- The employer can be found by typing either the employer name or number. Only one employer can be selected per record.
- **If an employer is selected but that employer does not have any employer accounts signed up to use the Web eXchange Employer Center, the system will warn about this condition with a message on screen. This warning should trigger a communication to/through Client Services to advise the client to have an admin sign up for an Employer center account to receive the files posted.
- Grouping: The Grouping applies visually to the Employer Download center. Any report record included in a specific grouping will be listed under that grouping header for the employer.
- Existing groupings for the selected employer will be shown in the list. Click the Add button to add a new grouping if an existing grouping is not adequate.
- Retain Hours: How long, in hours, will this download record be available to the employer.
- 0 = forever.
- Files: **A NEW record must be saved first before files can be attached. Click the Save button once the record is completed and the Choose File button will be available.
- Click the Choose File button to search for a file on your computer to attach to the download record. This is the file the employer will download.
- Once a file is chosen, click the Add button to add it to the download record.
- More files can be added to the same download record by clicking the Choose File and Add buttons again.
- Most file formats that can be sent via email can be attached here (Word, Excel, PowerPoint, PDF, Zip, etc.)
- Once all files are added, click the
 button.
 - Delete Action. An attached file can be removed by clicking the
 button next to each attached file.
Access History Tab
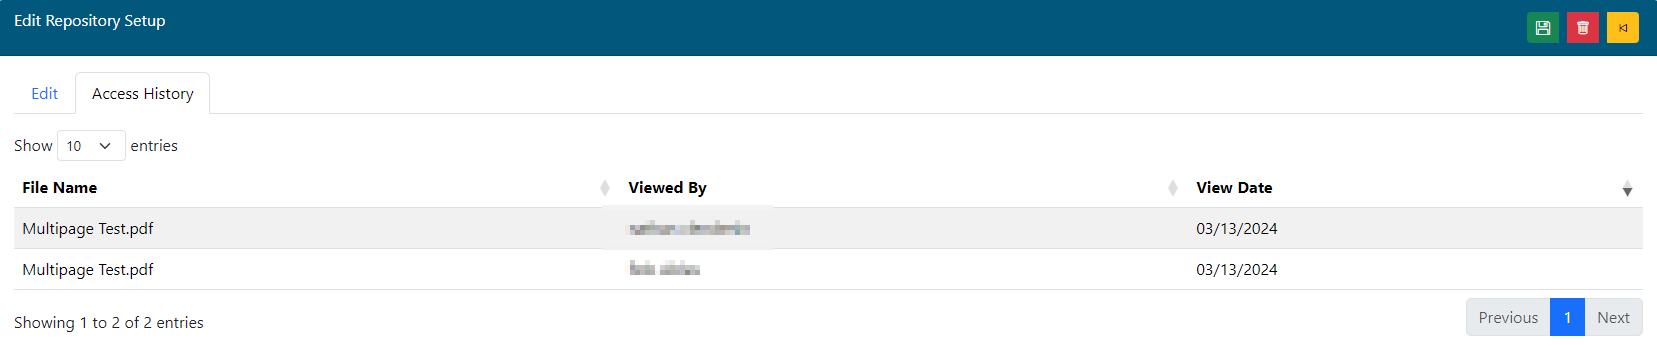
- The grid list will show a sort-able history of all users that have accessed the file(s) and the date accessed.
Adding/editing a Temp Record
Temp downloads allow TPA Center users create an online download for external users that do not have Web eXchange accounts. These are typically used to deliver large reports to carriers, brokers and other entities that would not have a Web eXchange login. Creating a temp download record will email a link to the the addresses listed in the Email section. The user will be presented with a password creation prompt on their first use of the temp download center. That password can be used for future temp downloads.
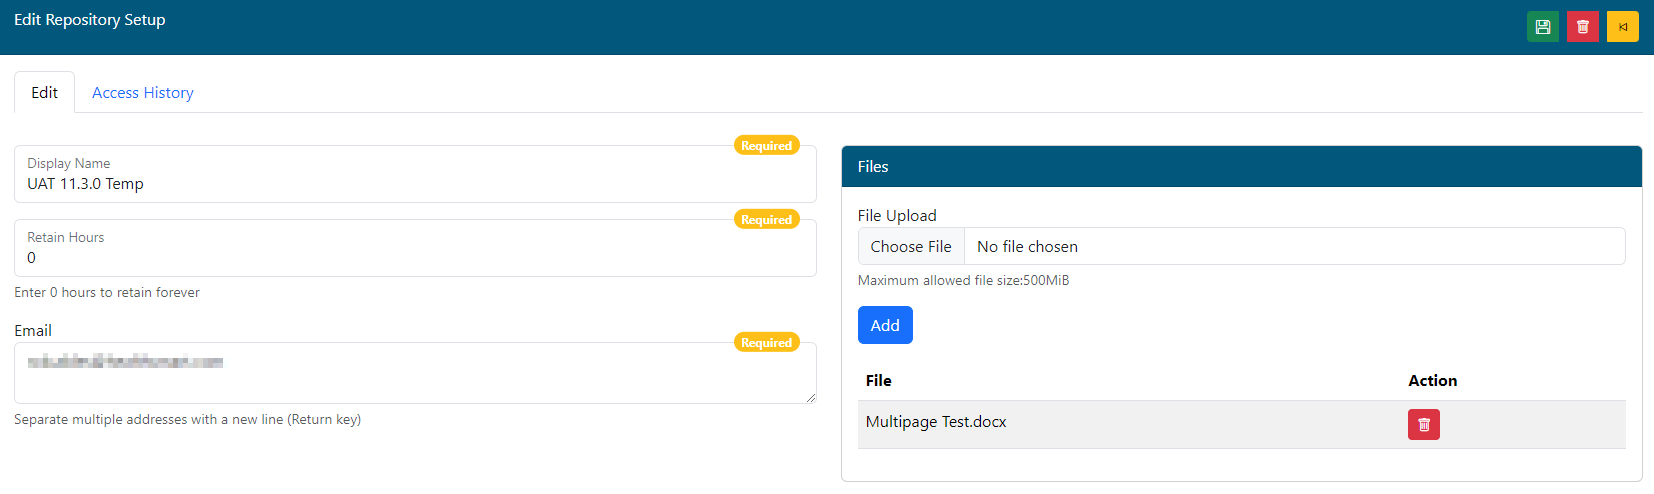
- Display Name: The name that will be displayed to the Employer in their Download center. This will also be displayed on the DLR grid list to identify this record.
- Retain Hours: How long, in hours, will this download record be available to download.
- 0 = forever.
- Email: Email address(es) that will receive a link and notification for this temp download. If multiple addresses are used, there must only be one address per line in the box. Use the ENTER/RETURN key on your keyboard you enter to a new line after each address.
- Files: **A NEW record must be saved first before files can be attached. Click the Save button once the record is completed and the Choose File button will be available.
- Click the Choose File button to search for a file on your computer to attach to the download record. This is the file the user will download.
- Once a file is chosen, click the Add button to add it to the download record.
- More files can be added to the same download record by clicking the Choose File and Add buttons again.
- Most file formats that can be sent via email can be attached here (Word, Excel, PowerPoint, PDF, Zip, etc.)
- Once all files are added, click the button.
- Delete Action. An attached file can be removed by clicking the button next to each attached file.