Last Updated v5.6.4
This screen is used to lookup plan participants and view Claims, Coverage, Ded/Plan Max, Transactions, and Notes information.

Viewing a Participant's Information - Enter information into at least one of the search fields just below the column headings (DOB must be used in combination with another search field). Press ENTER to click the SEARCH. Click on the row containing the participant's information to view their claims and coverage information.
**If the search criteria entered is too broad, the system will display a message requiring additional criteria to be entered. This is done to keep the search time as fast as possible.
Claims
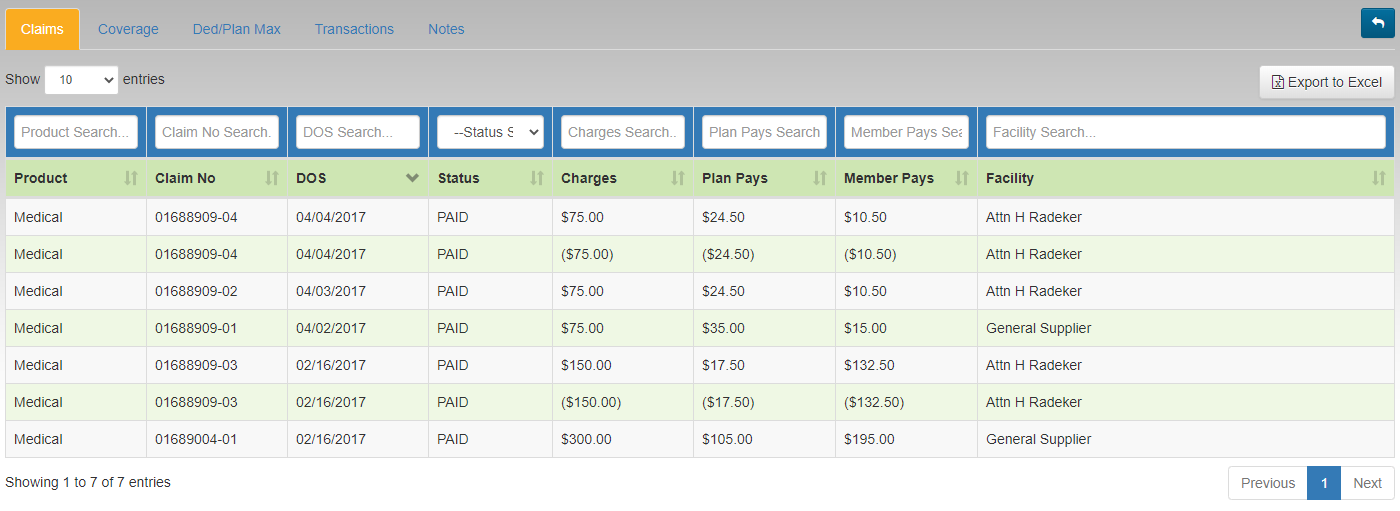
- Use the filter boxes at the top of each column to narrow the claim list down.
- Export to Excel - Use this option to export all claims currently listed in the grid to an Excel sheet (includes all pages in the grid).
- Select any claim by clicking on the row.
Claim Detail Window

- The claim detail screen shows demographic, check, EOB, and service line information about the claim.
- Click the EOB or Plan Document buttons to view those items in a new window.
Coverage
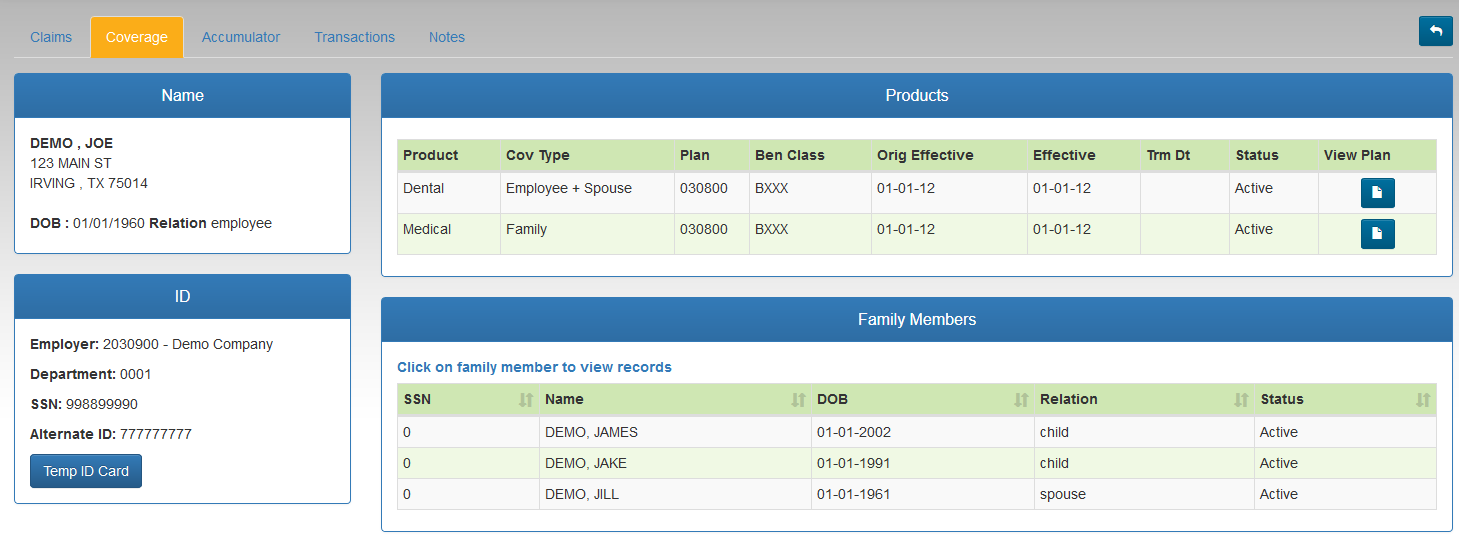
- The coverage tab shows demographic, coverage, and plan information.
- Click on any Product or Covered Dependent row to see more detail about that record.
- Click the View Plan icon next to the desired row to view any posted plan documents for that product.
- Temp ID Card (if available for the employer): Click this option to see a PDF copy of the member's ID card.
- Email Card: Once the ID card is visible on screen, click the EMAIL CARD button to send a PDF copy of the ID card to a specified email address.
Ded/Plan Max
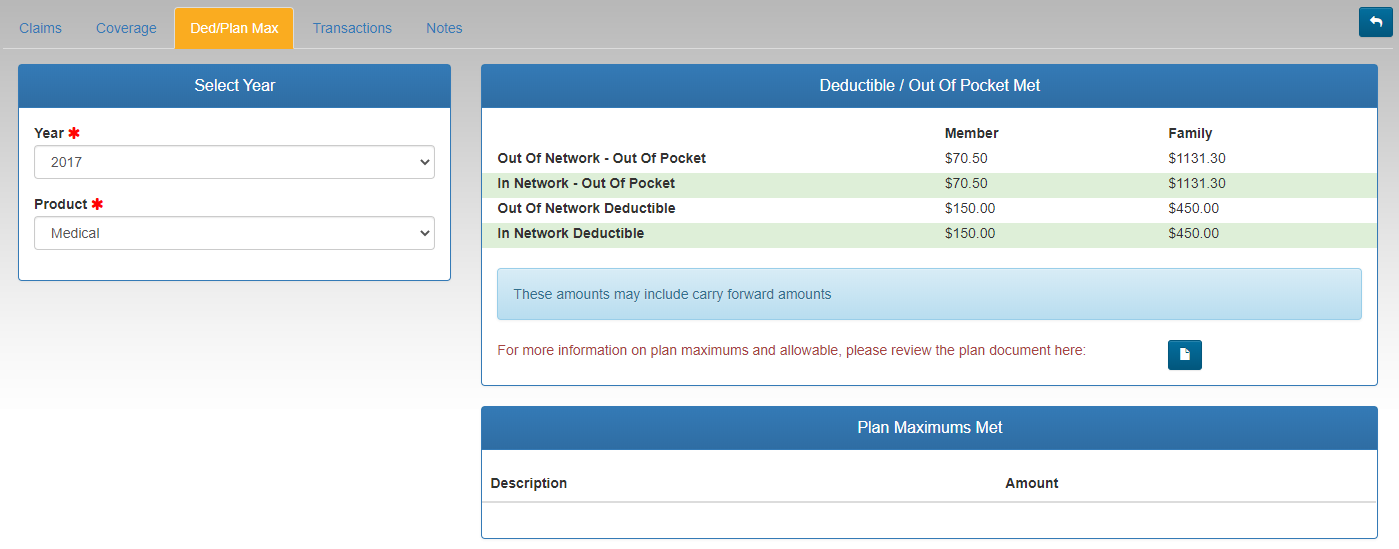
- Select the Year and Product to view the deducible, out of pocket, plan maximum and other accumulator information.
- Web eXchange shows accumulators for years the participant has coverage.
- Click the Plan Document icon to view the related Plan Document (if available).
Transactions
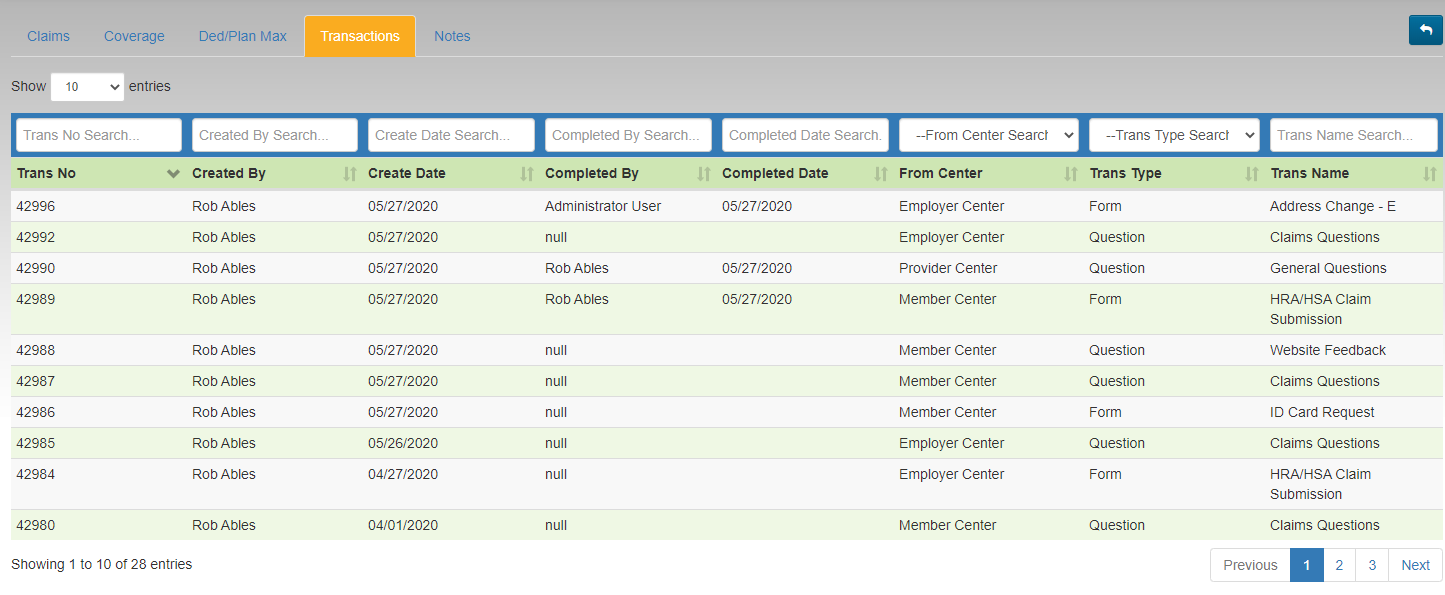
- Any Transactions for this member will be displayed in the grid list. Filter the list as needed, and select any transaction to view the details.
Notes
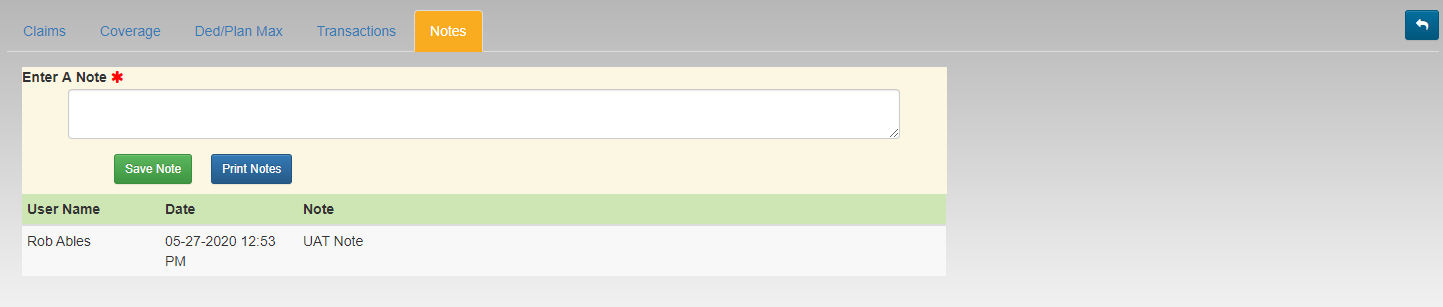
- Any Web eXchange related notes will be displayed on this tab. Notes are only visible in the TPA Center.
- To add a new note, enter the note text in the box, then click the SAVE NOTE button.
- The PRINT NOTES button will send a copy of the notes to a PDF file to save or print.