-
Created by
 Rob Ables, last updated on Apr 30, 2026
8 minute read
Rob Ables, last updated on Apr 30, 2026
8 minute read
Workflow Queues
Last Updated v1
Inside the queue itself, you will see listed any outstanding transactions that need to be worked. There are multiple tabs available at the top of the queue list for different transaction statuses. See the definitions below.
Transactions
Transactions are defined as any question or form that was submitted by a customer (Client or Provider).

- Narrow the list down by using any filter(s) at the top of each column.
- The tabs at the top of the queue list show different transaction types: NEW, WAIT MORE INFO, INFO RECEIVED, and TRANSACTION HISTORY.
- NEW - Transactions that have not yet been reviewed or processed, or have been reopened by the customer.
- WAIT MORE INFO - Transactions that have been sent back to the requester (Client or Provider) for more information.
- INFO RECEIVED - Transactions that have come back from the requester, and are now ready for second review.
- TRANSACTION HISTORY - View all transactions that have processed through this queue in the past. Add notes or reopen any transaction as needed.
- Click the transaction from the list to be worked.
Transaction Detail
The transaction detail screens below allow the Admin users to correspond with the requester, add notes and attachments, transfer to another queue, answer questions, view Claim or Provider information, questions/forms and queue history, etc..


Customer Dialog Panel
Notes (Tab)
- Use a template to fill in the note box, or type a note manually. Templates can be designed in the SETUP - NOTE TEMPLATES main menu option (Setup admin access required).
- Click the Save button
 to permanently attached the note to this transaction.
- These notes are immediately visible to the requester.
- Click the Print button
 to print a copy of the note dialogue to a printer or PDF.
Attachments (Tab)

- These attachments are seen by Admin center and customer (client/provider) users. Anyone that has access to the transaction. They can be used to attach related information to the transaction and send documents back and forth to the customer.
- Customers can attach documents to the transaction from the client/provider centers when they respond to transactions that were sent back using the "More Info Needed" status, or if the customer uses the "Reopen" function.
- **When attachments are added for the customer to see/use, be sure to add an appropriate note on the Notes tab indicating what attachment(s) was added and why. The Note function is the only way the customer will be notified of an attachment.
- Click the Choose File button to browse the local computer for a file to attach. The restrictions for file types and size are shown on the screen.
- Once the attachment file is selected, click the Save Attachment button to complete the process. The file will now be permanently attached to the transaction.
- A record of the attachment name, upload date, and user that completed the attachment will be shown.
- Click any attachment to download and view it.
Internal Notes Panel
Notes (Tab)
- These notes are only seen by internal Admin Center users. Use these notes to communicate internal information regarding this transaction to the next Admin user that may review this transaction.
- Enter a note, and click the Save Note button.
- Pinned notes - Important notes can be pinned to the top of the Internal Notes list by selecting the Pin
 icon next to the note to be pinned.
Attachments (Tab)
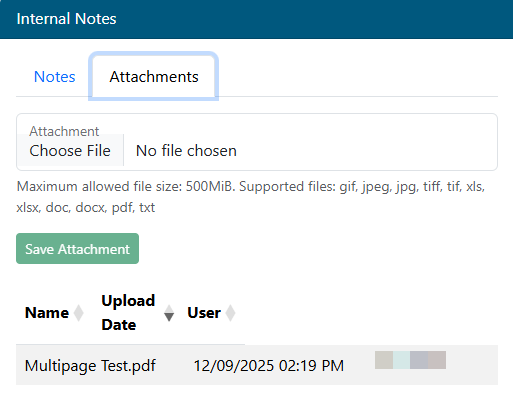
- These attachments are only seen by internal Admin Center users. They can be used to attach related information to the transaction for internal processing.
- Click the Choose File button to browse the local computer for a file to attach. The restrictions for file types and size are shown on the screen.
- Once the attachment file is selected, click the Save Attachment button to complete the process. The file will now be permanently attached to the transaction.
- A record of the attachment name, upload date, and user that completed the attachment will be shown .
- Click any attachment to download and view it.
Check Out Panel
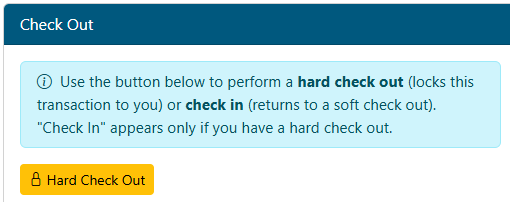
- When a transaction is opened in a queue, the system automatically performs a "soft check out". This keeps the same transaction from being opened/worked by two people at the same time. If the queue user times out, forgets to close the transaction, or improperly exits the transaction screen, the soft checkout process will automatically check the document back in (make it accessible/visible to another queue user) after a preset amount of time (usually 15-20 minutes).
- If the "Hard Check Out" button is selected, the system will override the soft check out process and keep this transaction permanently checked out to the user account until one of the following options take place. This feature allows the user working the transaction to come back and work the transaction at a later time or multiple times before completing their process.
- 1 - The user that performed the hard check out checks in back in using the Check In button (only displayed if the transaction is already in a hard check out status).
- 2 - The user that performed the hard check out completes the transaction using the "Close This Transaction" option described later in this help page.
- 3 - The user that performed the hard check out forwards the transaction to another queue using the "Forward to Internal Queue" option described later in this help page.
- 4 - An admin level user unlocks the transaction with the utility located in the Admin menu (admin access required).
Status Panel
- Respond To Customer - Two options are available:
- More Information Is Needed - This will send the transaction back to the original requester along with any notes added in the Note box. The notes should be precise in requesting what information is needed to complete the transaction.
- Close The Transaction - This will complete/close the transaction. The requester will receive notification of the close, and be able to see the response via any notes added in the Note box.
- Transaction Disposition - Select a predefined disposition.
- Transaction Statistics - Enter the number of contracts, Suppliers, etc. updated in the HRP system for this transaction.
- Leave at 0 if none were updated for any field.
- Response To Customer (Note required).
- Use a note template for common responses, or manually enter a note in the Note box for response. These notes are stored in the same area as the Customer Dialogue notes.
- Click the Save button to complete the status update.
- The transaction will close from the screen and return the user to the queue.
Forward To Internal Queue
If the transaction when to the wrong queue, had more than one question, or cannot be answered by you, you can forward it to another Admin Center queue to be worked.
- Queue - Select the queue to transfer to from the drop down list.
- User (Optional) - Select an Admin Center user to assign the transaction to when it reaches the new queue.
- The Queue selection field must be completed to enable this field.
- Internal Note - This will add an internal Admin Canter only note for the user that receives the transaction in the next queue.
- Click the Save button to complete the forwarding process.
- The transaction will close from the screen and return the user to the queue.
Bottom Tab Information
Transactions
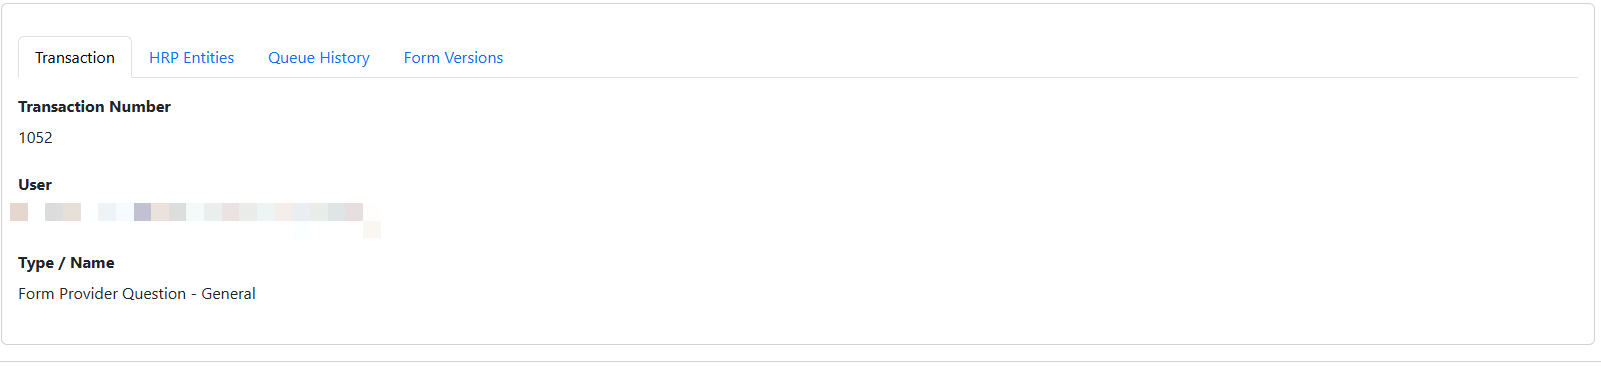
- The transactions tab show detail about this transaction including number, the user that submitted it, (also an admin center user if there was impersonation), and the type of transaction.
- All transactions are questions or forms and the details will be shown on the Form Versions tab.
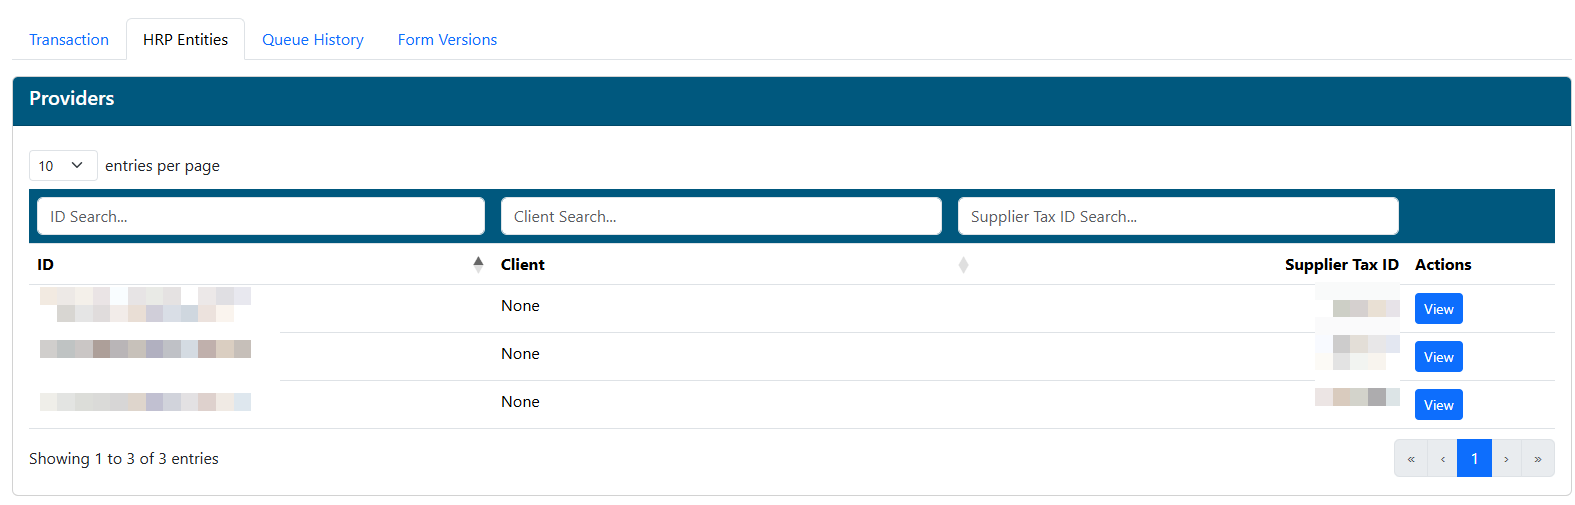
HRP Entities
Provider/Practitioner Example:
Claim Example:

- This tab is only visible if the transaction has a Provider/Practitioner or Claim attached. The information displayed in the tab will show the related provider(s) or claim(s).
- Transactions can have more that one claim or provider attached. Each row in the table represents an individual provider or claim.
- Transactions cannot have BOTH providers and claims attached.
- Export to Excel.
- Export the claim or provider records to Excel for external review or import to HRP.
- The same data will be exported that is exported on the Claim or Demographics screen export options.
- Click the View button to open the provider or claim detail record.
Queue History

- The Queue History tab show all queues this transaction has moved through.
- Completed by user and date/time stamps are added as the transaction flow in and out of each queue.
Form Versions
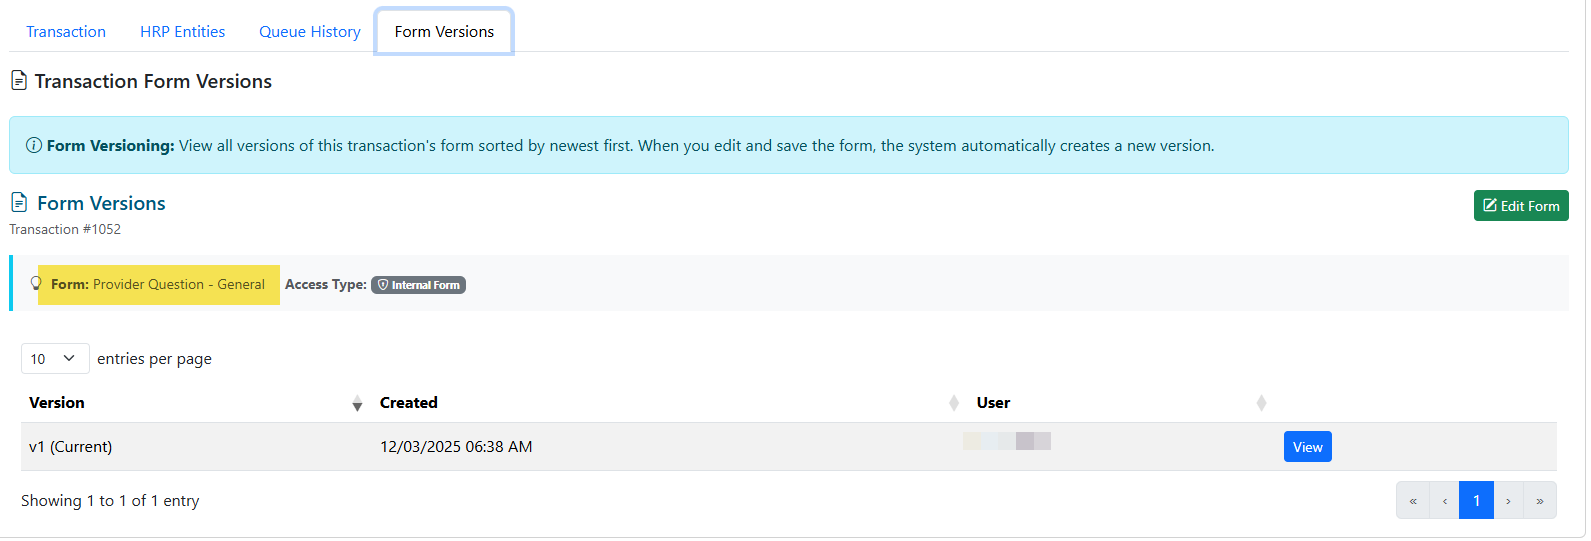
- The Form Versions tab shows all question/forms attached to the transaction. Any form or question submitted is handled in a "form" on Web eXchange. This tab is where all submitted information will be shown.
- The name of the form submitted is shown below the Transaction # (Highlighted in yellow in the screenshot above).
- In the main table, all versions of the form are shown. Click the View button in any row to open that version of the form.
- The form can be edited with the Edit Form button.
- Editing and saving a form will create a new version of that form and add it to the table listing.
- Each form version is maintained in the history and can be viewed independently of each other.