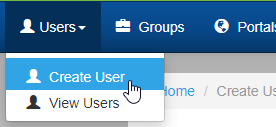
View Users
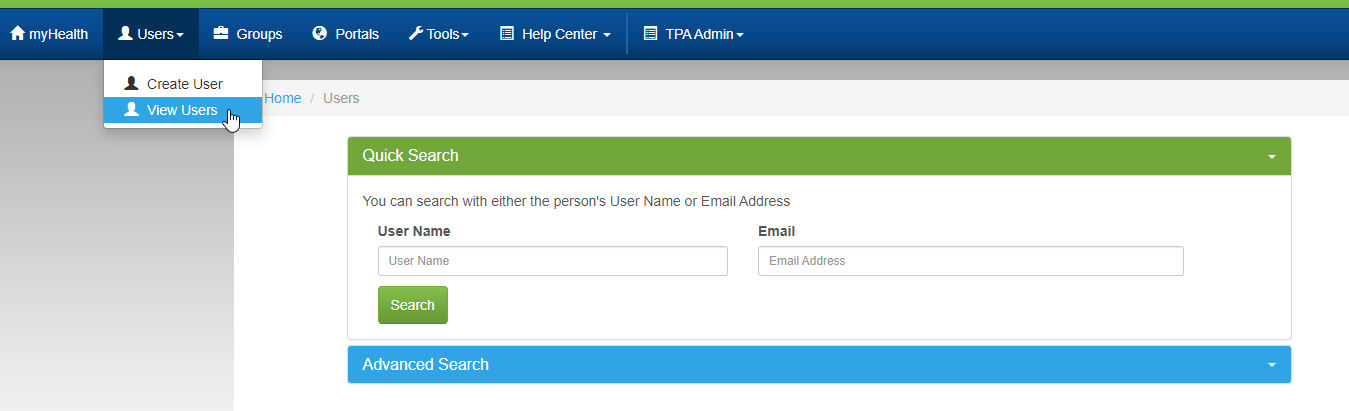
The View Users is the default option selected when entering the admin area. The system selects it from the menu by default. In this screen, we can find any existing myHealth user accounts.
Since the myHealth user database contains member accounts for myHealth, provider and client accounts for PHP myTPA, and CCE and provider accounts for WTC, this screen will be used to administer user accounts for all of those systems.
Quick Search
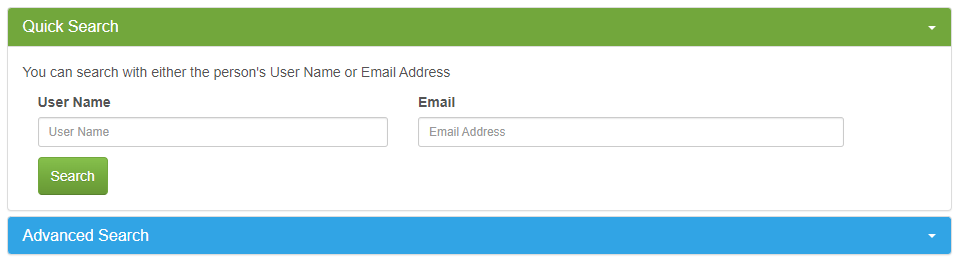
All fields can be used in combination to narrow the search results.
- User Name: Find the account by the user name.
- Email: Find the account by the email address.
- Search: Execute the search action based on the criteria entered.
Advanced Search
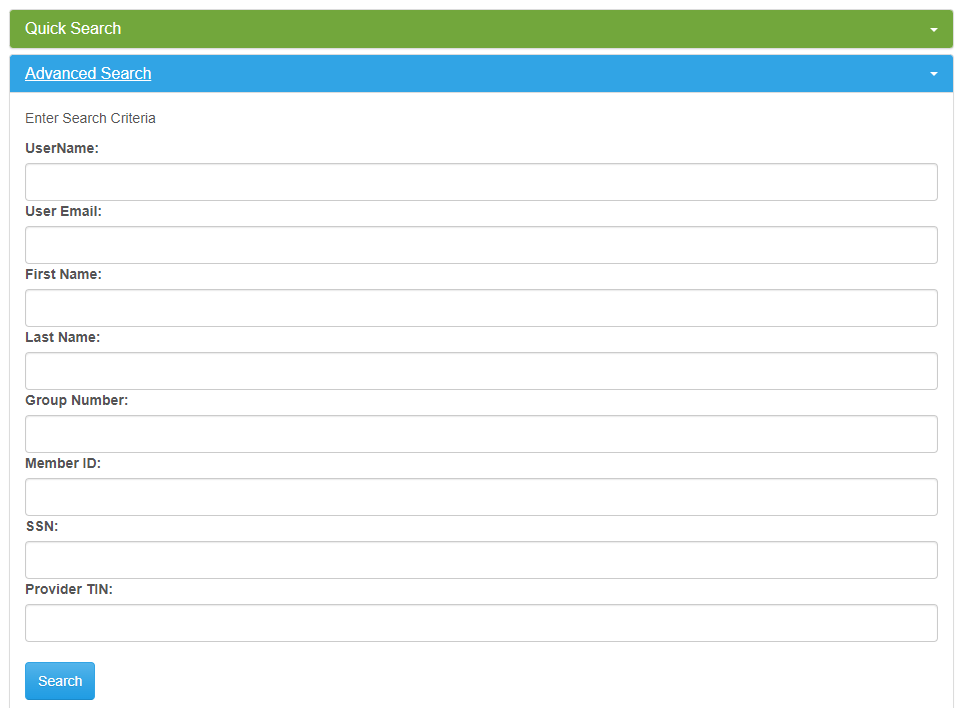
All fields can be used in combination to narrow the search results.
- User Name: Find the account by the user name.
- User Email: Find the account by the email address.
- First Name: Find the account by the user's first name.
- Last Name: Find the account by the user's first name.
- Group Number: Find the account by the user's associated group number (only member records with associated client group identities will be returned).
- Member ID: Find the account by the user's associated member ID number (only member records with associated member ID identities will be returned).
- SSN: Find the account by the user's associated member SSN (social security) number (only member records with associated SSN identities will be returned).
- Provider TIN: Find the account by the user's associated provider TIN (Tax Identification Number) (only member records with associated SSN identities will be returned).
- Search: Execute the search action based on the criteria entered.
Results
Once the search is completed, the results will display.
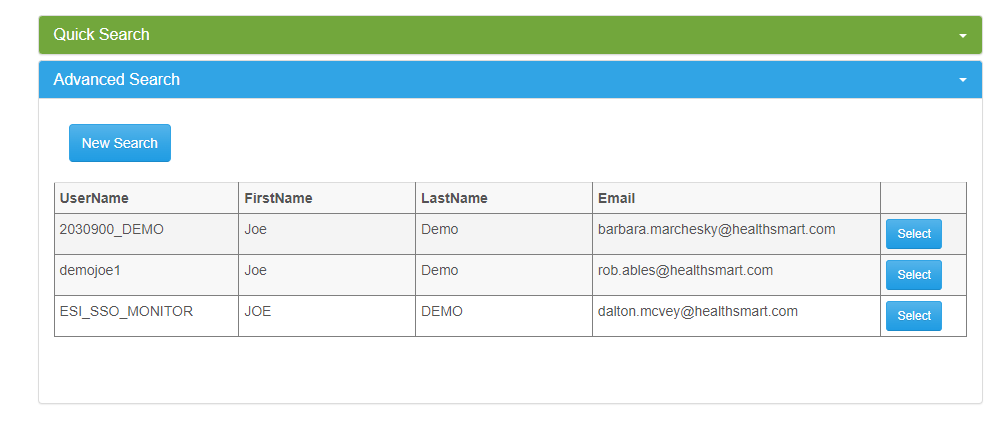
- Select: Open the record to view/edit.
- New Search: Clear the search results and criteria and start a new user search.
Edit User
Once and existing record is open, use the options on screen to view and edit the user information.
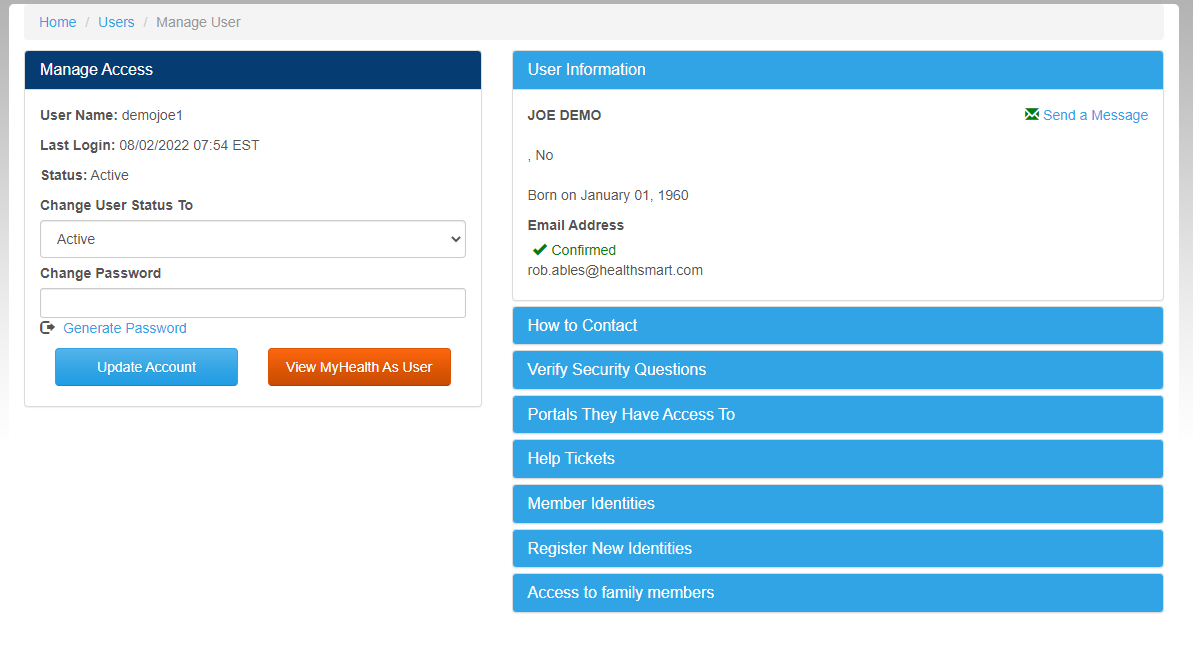
Manage Access
- Change User Status To: Update to or determine the account status with one of the following options.
- Active: Can access the system.
- Locked Out due to many failed login attempts: Locked out an unable to login or recover account without assistance from an admin. This status is the last in line after the Temporary Lock tiers.
- Force Change Password: Force the user to change their password at next login. This can be used when a temporary password is provided to assist a user or on a new account that was manually created.
- Inactive: The account has been inactivated due to inactivity for more than 120 days (120 is defined in the global system settings table.)
- The account can be reactivated by the user via the password reminder/reset options on the login screen.
- Disabled: Permanently disabled/cannot login unless an admin manually updates the status.
- This option should be used for terminated admins, CCEs, TPA users, etc.
- Temporary Lock Tier 1: The user has entered the wrong password more than 5 times in a short period of time. The system will hold the account in this status for 5 minutes. The user can retry the login after 5 minutes.
- A message is displayed to the user notifying them of the temporary lock time.
- Temporary Lock Tier 2: The user has entered the wrong password more than 5 times in a short period of time AFTER the lock Tier 1 timeout has ended. The system will hold the account in this status for 24 hours. The user can retry the login after 24 hours.
- A message is displayed to the user notifying them of the temporary lock time.
- Change Password: Manually update the account password.
- The password must meet the system minimum requirements.
- Use the Generate Password option to have the system generate a compliant password.
- Update Account: Save any changes made.
- View myHealth As User: The system will open a new browser tab and display the myHealth portal imitating the user record that was open.
- This can be used to help resolve issues for a user since we can see what they see.
User Information
This section shows the general user information including name, address info, email address and if email has been confirmed.
- Send a Message: Send a myHealth message to the selected user.
How to Contact
This section shows phone number contact information for the selected user account (if the user added any numbers).
Verify Security Questions
This section shows the security questions and answers added by the user. This can help web support verify and assist the user.
Portals They Have Access To
This section shows the assigned myHealth Portals for the user. Portals can be SSOs, other myHealth or myTPA admin functions, etc.
- Manage Access: Add/delete Portals for the selected user account.
Help Tickets
This section shows any help tickets the user has submitted.
- View Details: Click to open the ticket details
Member Identities
This section shows the member identities for any/each group the user has added to their myHealth account.
- Remove: Click to remove the selected identity.
- This option cannot be undone and the identity will need to be added back manually via the Register New Identities section.
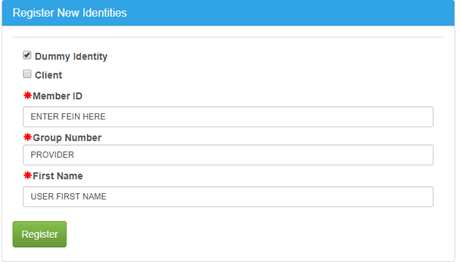
Register New Identities
This section allows the admin to add a new member identity to the selected account.
An * denotes a required field.
- Dummy Identity: This identity will be used for testing purposes or provider accounts and does not require a match to myHealth member data.
- Client: The identity is for a client account.
- In this scenario, the Member ID and First Name fields can be any value.
- Member ID: Enter the member ID that is associated with the member's identity for this client group.
- This is typically the AltID from the claim system and as shown on the member's ID card.
- Group Number: Enter the client group number that is associated with the member's identity for this client group.
- First Name: Enter the first name that is associated with the member's identity for this client group.
- Register: Click to add the new identity.
*For Provider accounts the following should be used (FEIN = TIN/Tax ID):
Access to family members
This section shows other family members (based on identity information). This section can be used to request or show family members that have access to each other's information, but this is handled in Web eXchange now. These options no longer provide any function. PHP does not have member's using the myTPA portal.
Create User
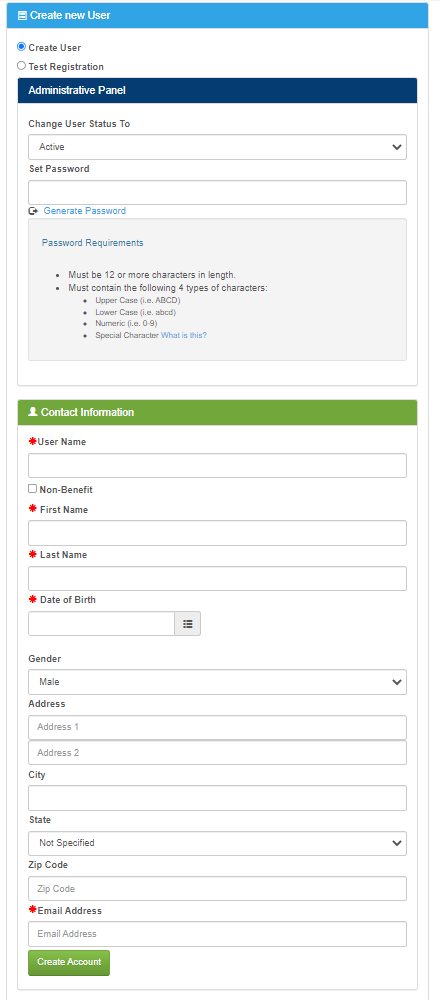
An * denotes a required field.
- Create User: Select this option to create a new user account.
- Test Registration: Select this option to test a user registration process.
- Change User Status To: Assign the appropriate status for this new user.
- Typically Force Change Password or Active are used for a new account.
- Set Password: Assign a password for the new user that meets the requirements displayed or use the Generate Password option.
- User Name: Enter the user name credential.
- First Name: Enter the user's first name.
- Last Name: Enter the user's last name.
- Date of Birth: Enter the user's date of birth or use the date picker to select one.
- Gender: Select the user's gender.
- Address: Enter the user's address lines 1 and 2.
- City: Enter the user's city.
- State: Select the user's city.
- Zip Code: Enter the user's zip code.
- Email Address: Enter a valid email address for the user.
- A second field will appear to confirm the email address.
- Create Account: Click to complete the add the new account process.